Showing posts with label DIY. Show all posts

Wednesday, November 4, 2009

Vintage Silhouette Party on the Bella Bash Boutique


Say hello to my very first printable party! I was inspired by the timeless beauty of a simple black silhouette, framed by one of my favourite colours, vintage-y blue-y green. Is vintage-y blue-y green even the name of a colour? Nope, but I can't think of anything else right now. The photographs don't capture the exact colour that I used, so just imagine a faded Tiffany box, or a vintage teal stove.

This party would be PERFECT for a bridal shower or a birthday party, but I've created it in a way so that it could pretty much be used for any kind of party (well, except for your husband's birthday... he might not appreciate it).

This party includes:

Invitation & Envelope
Thank You Card & Envelope
Cupcake Wraps (for Regular and mini cupcakes)
Cupcake Pick Toppers
"Celebrate" Banner
Napkin Wraps
Candle Wraps
Favor Box
Favor Bag
Gift Tags/ Place Cards/ Labels
Gift Log
Patterned Paper

Want some creative things that you can do with your party? Try out some of these great DIY ideas:

1) Use a napkin wrapper and a candle wrap to customize a wine bottle as pictured above! Not serving wine? Use the wraps for water bottles, vintage soda bottles, paper cups, etc. You get the idea!

2) Punch 2 holes in the circular tags and put a straw through it for an adorable drink accessory.

3) Use the large blank tags for labelling your candy buffet, or for tagging your gifts for the guest of honor.

4) Print one side of a page with the full pattern, and the other side with the template. When you cut and assemble your favor box or bag, you'll have the pretty pattern on the inside instead of just plain white. This makes your work look uber professional!

5) Blow up the silhouette to fit an 8.5 by 11 inch page, place in a glass-less frame, and give silver pens to guests to sign their name on the black silhouette. Perfect guestbook and gift all in one!


6) Make a silhouette chalk board. Using the same enlarged silhouette, trace the image onto a purchased piece of chalkboard decal (Winners and Homesense has some right now). Stick your silhouette decal onto the wall, the door, or a frame. Use chalk to write any message you like, or list the menu for the fabulous meal you'll be serving.

Check out my etsy listing here for the Vintage Silhouette Party.

Thursday, October 22, 2009

Homemade Biscotti Treats for Fall Favours

For our (Canadian) Thanksgiving dinner, I decided to have a go at making homemade biscotti favours that would also double aa place cards. I found the EASIEST recipe, and I was so excited to try it out. Anyone with a coffee/latte/cappucino addiction like myself should understand the yumminess that is biscotti dipped in some piping hot java.

Something about the crunchy texture of this italian twice baked cookie, that turns to a soft moist cake when emersed in coffee, makes this treat an absolute favourite of mine. Whilst the recipe looks incredibly fool proof, I found a way to mess them up a bit (when I turned the timer off for the first batch, I inadvertently turned off the oven, so the next 2 batches were just hanging out in the oven for about 10 minutes with no heat). To compensate for the oven mistake, I left them in a bit longer than I should have and they were a tad bit on the overcooked side. I was able to salvage most of them except for the chocolate ones (which were eaten despite their burnt aftertaste by my hubby's best friend).

Although Thanksgiving up north has come and gone, there's still US Thanksgiving, Halloween, and of course any random dinner party, that you can use these for. I packaged mine in clear cello bags with orange ribbon, then put each package into a small kraft bag. I grabbed some leaves from outside and wrote the names of each guest in gold pen, and secured it to the bag with green ribbon. If you'd like some fun, free halloween templates like the one above, head on over here.

Now how to make easy peezy biscotti:

1 Box Betty Crocker Cake Mix (any flavour but Super Moist White is great for regular biscotti)
1 tablespoon vegetable oil
2 eggs
Your choice of flavour/topping ( I toasted pumpkin seeds and almonds, used some in the mix and some for sprinkling on top)

1.Heat oven to 350, or 325 for dark/non-stick pans

2. In a medium bowl, mix cake mix, eggs and oil until a dry dough forms (there may be some extra cake mix left in the bowl). Stir in your flavourings ( pumpkin seeds and pumpkin pie spice/ gingerbread spice/ almonds/ m&ms).


3. On an ungreased cookie sheet, shape dough into a 15 by 4 inch rectangle using greased hands (crisco!). Bake for 20 to 25 minutes or until golden brown. Cool on cookie sheet for 15 minutes.


(If you want to do 2 different flavours in one batch, separate into different bowls to flavour and then shape on your cookie sheet. Here I've done almond on the left and pumpkin spice on the right.)

4. Cut rectangle crosswise into 1/2 inch slices. Place slices, cut sides down, on cookie sheet. Bake 10-12 minutes or until edges are a deep golden brown. Cool for 5 mins, remove from cookie sheet, and cool for another 30.

5. Melt some chocolate chips in a double boiler, dip your biscotti in and place on parchment paper. You can also drizzle melted chocolate over top if you like in different colours. Sprinkle with crushed nuts or other topping and let stand until set!


There you go... It doesn't get much easier than that! It is fairly time consuming, however, so next time I might just head over to Costco ;) At least I can tell my husband's italian family that I made biscotti!

Sunday, October 18, 2009

The Cookie Buffet


Are you starting to get the feeling that I have a bit of a sweet tooth? Well, I must admit, I have a MAJOR one... as evidenced by posts like this, this, this and this.

While everyone is pleasantly enjoying their October in 2009, us wedding junkies are living in 2010 seeking out inspiration and insight into wedding and event trends. One that I see making a huge mark on the wedding industry is the Cookie Buffet. Really, who doesn't love cookies? I'll take a cookie over, well, pretty much anything. There is something about cookies that just makes them so... satisfying. Yes, they're delicious and full of butter and sugar and tastiness, but there's also a feeling that cookies come with- that homemade goodness, those childhood memories of baking with mom in the kitchen and getting our hands a little messy (and then licking the spoon afterwards!).

Cookie buffets are, of course, a spin off of the uber popular candy buffet, but in many ways more economical and practical. I've done many a candy buffet, and can say they are, to say the least, a pain in the behind. Attractive, tasty, colour co-ordinated candy is difficult to find, and the cost adds up quickly (average about $2-$5 per guest). You will probably go to dozens of stores to find just the right selection, and you'll end up with a much larger hole in your pocket than you anticipated. A cookie buffet, however, is friendly on the budget, and best of all you can utilize your wedding party in the kitchen. Have each member, or family member at that, make a batch of their favourite cookie recipe. This way you'll have plenty of selection, and you'll have spread out your wedding work load a bit.

Want ways to really make your "Cookie Buffet" your own?:
~Attach favourite recipe cards to the treat bags for a unique guest favour
~Name your cookies after your favourite things (movies, books, vacation spots etc) and use creative and pretty labels that match your wedding theme. What would I name my cookies? Well, "Gone with the Mint", and "Titanic Chunks of Chocolate"...and (don't laugh) but I'd probably throw a "Legally Blonde Brownie" in there ;)
~Artistic? Paint something fun on brown paper bags (or have a little one finger paint as seen at Buzz Bishop's wedding in the last picture)
~Have the grandmas, aunts or other important figures in your life do the baking. Chances are they are more than happy to help out, and baking for your wedding is the perfect (and not too tedious) task to give them
~Display your cookies in fabulous fashion: build multi-tiered, paper covered boxes like the first picture, use a lovely display of glass jars and pedestals, display them in tin flower troughs, or even antique vases and dishes borrowed from family members. Whatever you decide to use, be original and personalize, personalize, personalize!
~Mix your displays of homemade cookies in with some expert custom designed cookies like the ones from the Steveston Cookie Company. You will still get the visual impact of these gorgeous designer treats without having to buy one for each and every guest.

Lastly, remember this trend isn't just for weddings! Cookie buffets can easily be incorporated into your next cocktail party, shower, or birthday. I think I'm going to go have a cookie now...

Sunday, October 4, 2009

Cute and fuzzy crafts for fall


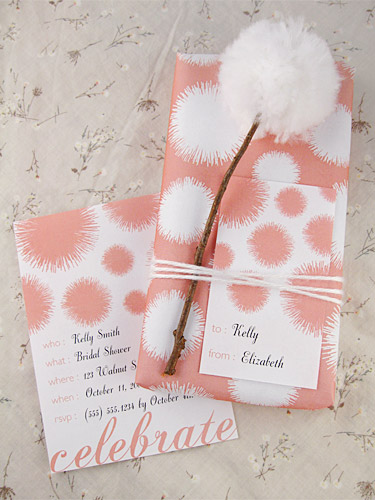
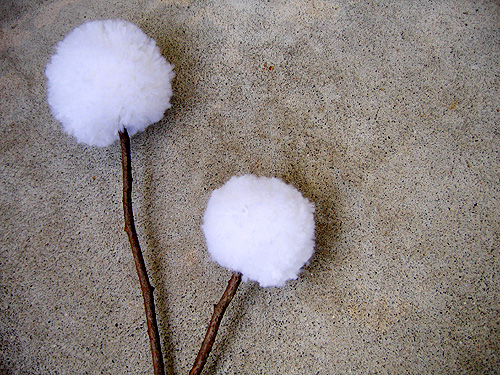
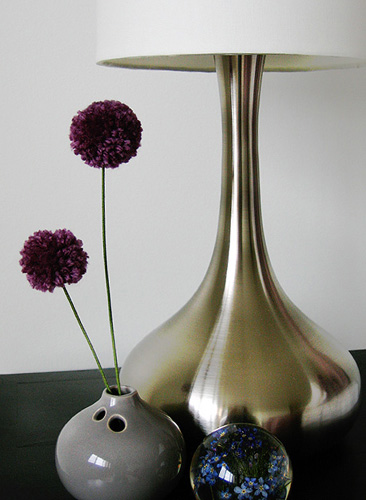
I'm a sucker for a great diy project, and an even bigger sucker for free templates. This post satisfies my craving for both! Domestic Fluff has an easy-to-follow tutorial for making pom pom flowers, a creative take on the infamous tissue poms (just on a smaller scale and suitable for everything from wedding and party crafts to home decor). In addition to these delightfully adorable yarn blooms are the matching paper templates that would be perfect for a shower or birthday! Enjoy, and if you do happen to ever try your hand at one of these crafts, send me a picture! I'd love to see ;)

Friday, September 11, 2009

Let them eat cake! But only on a pretty stand...


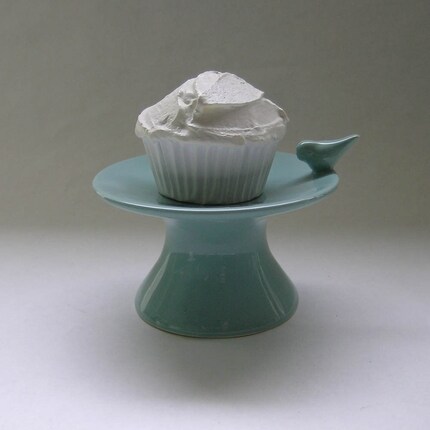
Above: Found this on a "wanted" etsy listing. Let me know if you know where these are from, because I LOVE THEM!


DIY Cake stands from Once Wed

Above: The Knot


If there's one thing I can't get enough of (really, we all know it's far more than just one thing) it would be cake stands. I'm not quite sure what it is about them, but if I see one, I buy it. Cake stands are to me as shoes are to a fashionista. I feel like they are my babies, my sacred collection, and I promise you one day they WILL be displayed on some gorgeous shelf in my office. I love single tiered ones, ones that stack in graduated sizes; I love cupcake towers, and I especially love individual glass cupcake stands. There's something about a cake or cupcake stand that completely transforms any baking, candy, or everyday item from mundane to magical. Must be the pedestal!

The collection of pretty stands above range from low to high prices, and for those of you looking for a shabby chic way to present your creations, here's a fab diy project over at Once Wed that uses terra cotta pots! Ingenious idea. Any style, any colour, and size- cake stands WILL improve you event, whether you're using for your wedding cake, or to hold cookies on a dessert table for a baby shower. And by all means, if you happen to see some pretty stands while out and about, feel free to think of me!

Tuesday, September 8, 2009

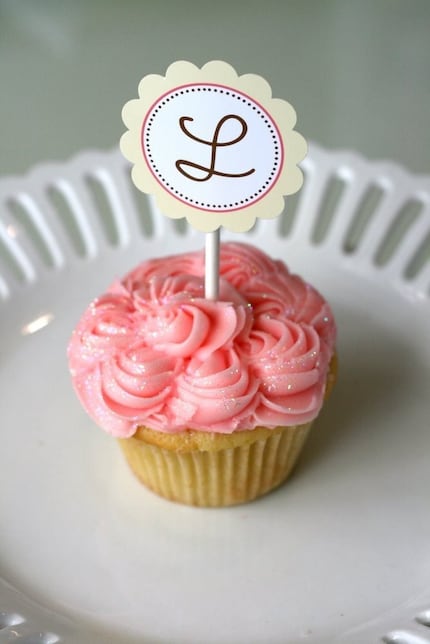
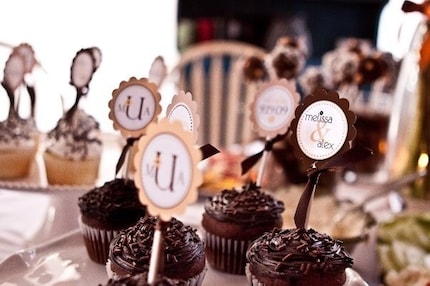
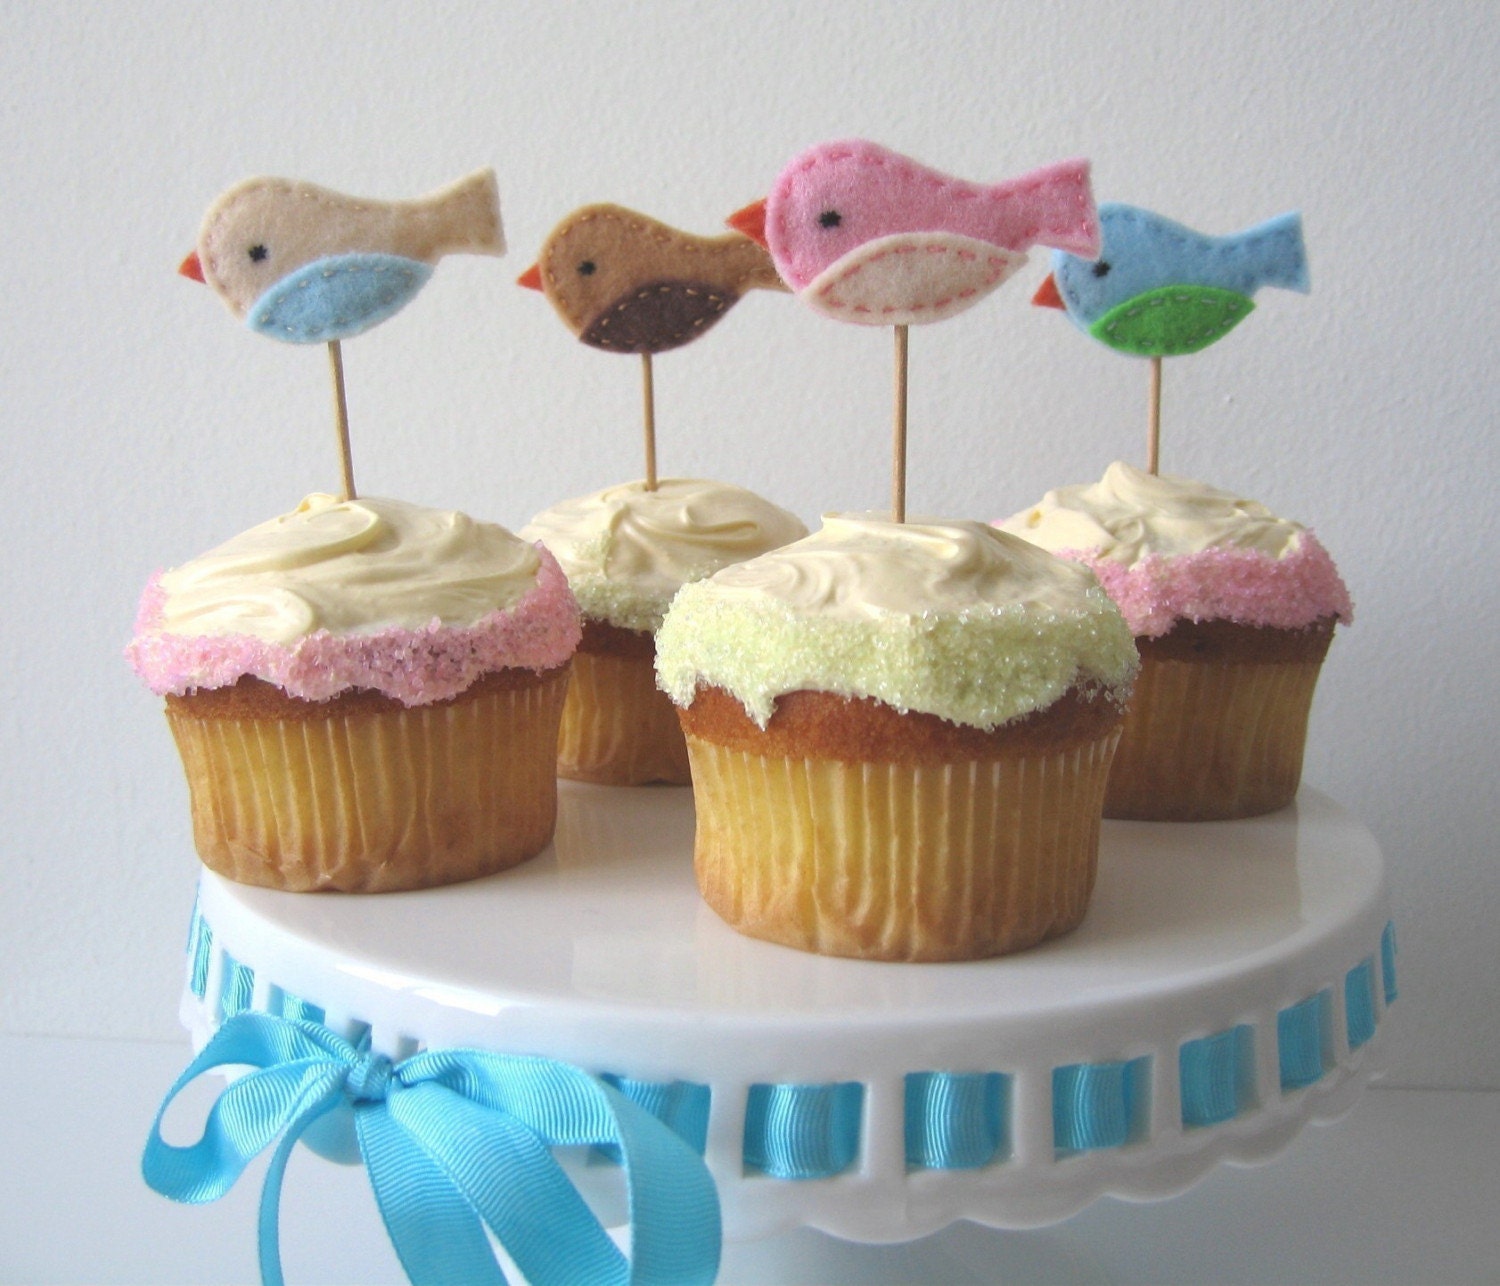
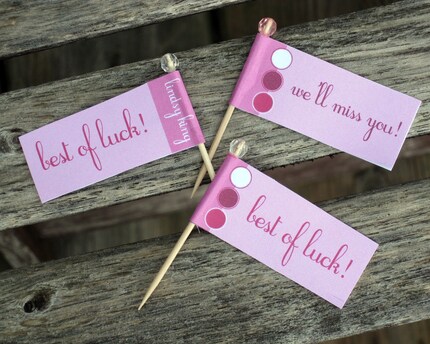
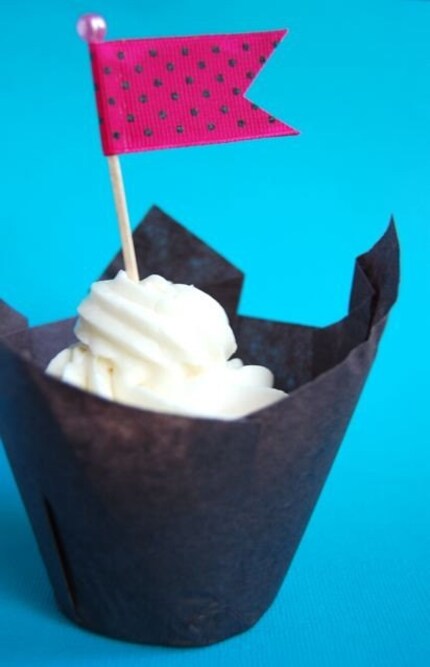
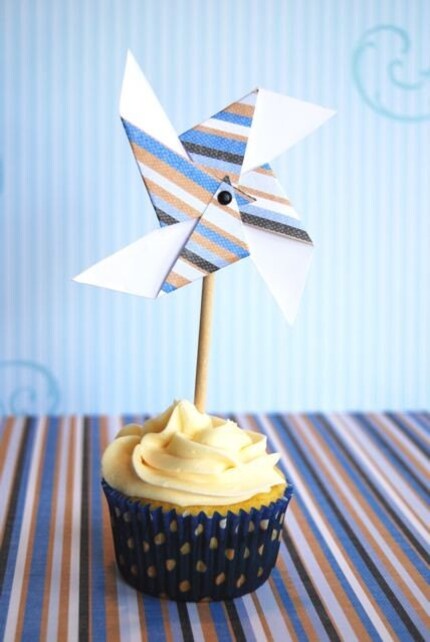
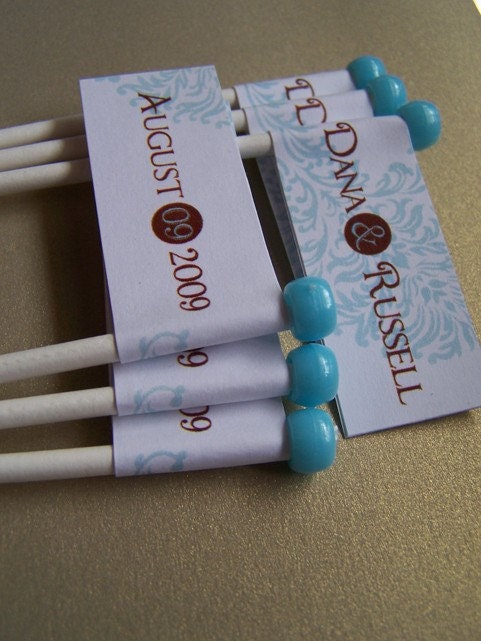
Cupcake Flags: etsy Tuesday


Above: Cake flag from prettysmitten

Above seller: cupcakesocial

Above seller: inkwinkdesign

Above seller: SevenCupcakes

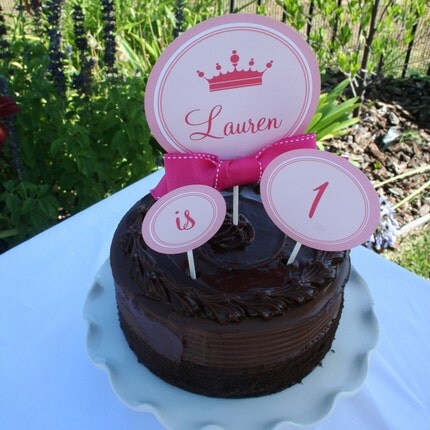
I didn't forget, don't you worry! I've got 43 minutes until etsy Tuesday becomes "you're late" wednesday, so here's my last minute post full of fun etsy finds! I'm always inspired by the fabulous weddings over at Martha Stewart, and one of my favourite details of this year's wedding features has been cupcake flags. They can be cute and elegant, fun and whimsical, and I can't think of an easier way to dress up your cupcakes! Beyond wedding cupcakes, these flags can be used for all occasions! Think Halloween, birthdays, showers, engagement parties etc. They would also be a great DIY project, or save yourself the hard work head on over to the fabulous sellers at etsy and get them shipped straight to your door.

Monday, September 7, 2009

Ice Cream Parlour Dessert Table


Oh. My. Gosh. OH MY!!!! I just about DIED when I came across this too-cute-for-words DIY Ice Cream Parlour. First off, anyone who knows me (or anyone who has seen my website design or blog), can tell you that I love pink. I really love pink. And I also have a HUGE soft spot for dessert-table-esque features at weddings and parties and showers. I think they are an amazingly adorable way to tie in your colours and give your guests something to munch on. Hence why this DIY Ice Cream Parlour is complete and utter perfection if you ask me. Not only is it incredible to look at, but the fabulous Amy from Eat, Drink, Chic has provided you with the templates so that you can create your very own fabulous Ice Cream Parlour for your next party. Heck, I might even have to try one myself. I have a baby shower that I'm working on for October, and I just might have to add this to the list!